
How to setup an QBCore Based FIvem GTAV RP Server on Localhost 2023.
.png)
Introduction :
Hello freak! I understand how passionate you are on building a QBCore based Fivem GTAV RP Playing server on your localhost. But Before get into the server development, I think you should talk about Fivem and QBCore.
Fivem: FiveM is a modified version of GTAV that allows you to play in multiple multiplayer server along with others. Roleplay means to play the role of the character you have chosen.
QBCore: QBCore is a framework for GTAV RP that uses the platform FiveM to provide the basic structures of Events , CallBacks and Native Methods(We will talk about these in another blog).
Prerequisites:
Before we proceed further , all of us should have these following in our PC.
1. Obviously a legit GTAV Game. Any type of mods or cracks cannot be used. If you do not have GTAV You can get it by savekeys.net in very cheap price. You can also look on steam and epic store.

2. FiveM Client.
3. CFX account.
4. Keymaster Account.
5. XAMPP installer.
6. Heidisql(Optional).
We will discuss later on the importance of each individual component used for the localhost server installation in brief.
Installation Process:
1. Go to FiveM artifacts and download the latest recommended. Now extract the downloaded zip into a folder naming it 'server'. You can use winrar to extract the server.7z file.

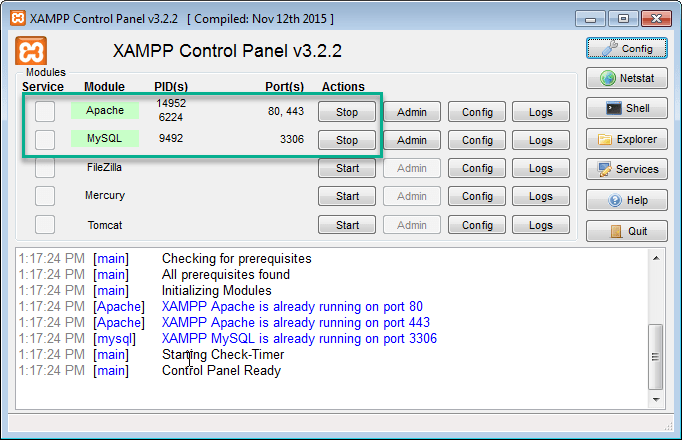
2. Now install Xampp. Xampp is used to setup the localhost environment into your Desktop/Laptop.
After installing Xampp start MySQL and Apache Service. (For convenience Please leave the user as root and password NULL. )
3. Install HeidiSQL and open it. As soon as it is opened, give a name for your database and click on open.
4. Now goto the folder where you have extract the fivem artifacts. Run FxServer.exe .Now this will lead you to your txadmin localhost login panel .(localhost:40120/auth). Link your CFX account. Most of the cases the pin that is shown in your terminal is autofilled in the login page. But if it is not autofilled , just type the pin shown in your terminal and click on link account.

5. Login to your cfx account and Login. As soon as you click on continue button a new tab will open asking you a backup password. Write and confirm the password you have decided. Check the tick and create a master account.
6. Now this is the configuration page for your localhost fivem rp server.
a. Give a name to the server.
b. Deploy Recipe : Popular Recipes > QBcore Framework.
c. Now for data location you can go with the default location but for convenience make a folder for the data also where you have make the server folder.
Now copy the file path of the folder and click on the change path and paste the path.
d. Click on save and then finish
7. The page you are not watching is the yaml. That is the locations from where the necessary files will be downloaded in your local hosting computer. Click on Next.
8. Now fill the keymaster license key. To do this , click on the keymaster account and click on new server. Give a name to your key and place the IP of your computer. Server type will be Other/home hosted. Service provider will be localhost. Now fill the captcha and generate a key. and paste it.

9. Now click on show/hide database option for more advancement in database.
10.. You can go with the database name by default but I will like to name it QBCore Localhost for convenience.
11. Now click on run recipe.
12. After finishing click on save and run server.
13. Now this will lead you to txadmin server panel.

14. Now open your FiveM. Press f8 from your keyboard. and type connect localhost and press enter.
15. Create a character and enjoy your own localhosted free fivem qbcore rp server.
More about being an admin and other cutomizaton will be continued into upcomming blogs.
Thank You Guys.

No comments